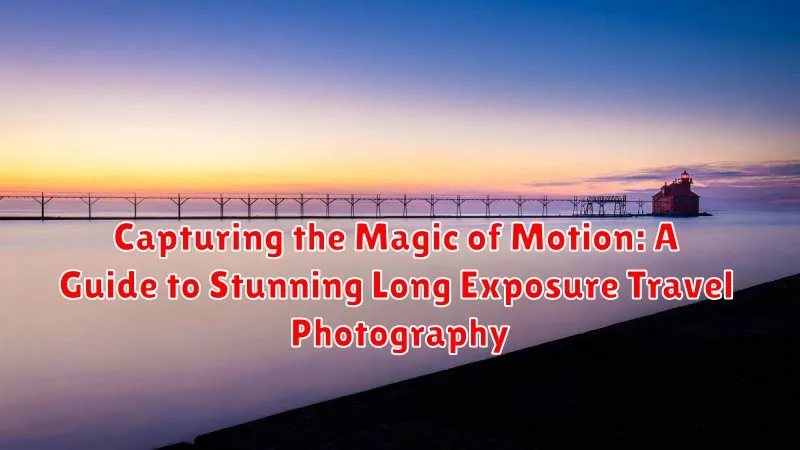
Long exposure photography is not just a technique, it’s an art form that transforms the ordinary into the extraordinary. By extending the exposure time of your camera, you can create beautiful images that capture the essence of movement over time. This can include anything from the swirling motion of clouds to the bustling activity of a city street. With long exposure, you have the power to tell stories and create images that are not possible through traditional photography methods.
As you embark on your journey to master long exposure photography, it’s crucial to understand the balance between light, motion, and timing. This comprehensive guide will walk you through the essential elements you need to know to create stunning long exposure travel photographs that will not only captivate your audience but also stand the test of time.
Essential Gear for Long Exposure
To begin your journey into long exposure photography, having the right equipment is essential. The core piece of gear required is a sturdy tripod. Since long exposures can last for several seconds—or even minutes—you’ll need a solid foundation to keep your camera steady and avoid any unwanted blur.
Another important tool is a neutral density (ND) filter. This filter reduces the amount of light entering the camera, allowing you to shoot in bright conditions while keeping your shutter open for longer periods. ND filters come in various strengths, so select one based on the amount of light you wish to block out.
A remote shutter release or cable release is also invaluable to minimize camera shake when activating the shutter. An optional but useful piece of equipment is a polarizing filter, which can reduce reflections and enhance colors, especially in outdoor settings.
Choosing the Right Settings
Finding the right camera settings is crucial for capturing stunning long exposure photographs. The three key settings to master are shutter speed, aperture, and ISO.
Shutter speed is the most critical setting for long exposure. It determines how long your camera sensor is exposed to light. For capturing motion blur, you may use a shutter speed between 1 second to several minutes, depending on your subject.
Your choice of aperture will affect the depth of field. A smaller aperture (higher f-number) will result in greater depth of field but requires longer exposure times due to less light reaching the sensor.
As for ISO, it’s best to keep this as low as possible to reduce noise in your final image. Modern cameras typically allow for clear images with ISO values around 100-200 even at longer exposures.
Mastering Composition for Dynamic Shots
Composition plays a vital role in long exposure photography, just as in other forms of photography. For dynamic shots, aim to capture elements of motion against a fixed background. This contrast between the blurred motion and static objects creates a dramatic and engaging effect.
Consider utilizing leading lines or the rule of thirds to create structured and visually intriguing compositions. These techniques guide the viewer’s eye through the photo and highlight the juxtaposition between stillness and motion.
Experiment with different perspectives, such as a low angle to emphasize movement towards the sky or a bird’s-eye view to capture patterns and flow from above.
Finding Ideal Locations for Long Exposure
The success of long exposure photography often lies in choosing the right location. Look for environments where the presence of moving elements, such as water, clouds, or people, can be creatively captured. Popular long exposure subjects include waterfalls, rivers, ocean waves, or even urban environments with vehicle lights and bustling crowds.
Scout the location during the day to understand the movement patterns of the elements you aim to capture. Pay attention to weather conditions as cloud patterns and wind direction can significantly influence your final image.
Research times of the day when light conditions are favorable for long exposure, such as during the golden hour at sunrise or sunset, where natural light casts warm and enriching tones.
Post-Processing Techniques for Enhanced Results
Post-processing can greatly enhance your long exposure photographs, allowing you to finesse details and adjust the aesthetic of your images. Software like Adobe Lightroom and Photoshop are popular choices for photographers, offering a range of tools for retouching and refining.
In post-processing, start by adjusting the exposure levels to ensure your image has balanced highlights and shadows. Use clarity and contrast adjustments to enhance textures and details within the photo.
To add a more professional touch, consider techniques such as dodging and burning, which can emphasize key areas of your image by lightening or darkening them selectively. This can direct viewer interest towards the focal points of your composition.
Finally, don’t hesitate to experiment with color grading to adjust the mood and feel of your photographs. Subtle tints and hues can completely transform the ambiance of your captures, turning a simple long exposure shot into a piece of art.

